Crafty Katie
- Cut the burlap (used approximately 1/2 yard) into 3 inch strips. (Jan, the measurements are for YOU!)
- Take a coat hanger and make a circle shape.
- Weave the burlap strips along the coat hanger wire. I hot glued every so once and awhile to try and keep the ruffles even.
- Connect wire at the top. (A little hot glue helped out in this step, too.)
- Add fabric flowers.
- Add ribbon embellishment if desired.
- Burlap (1/2 yard) – $2.00
- Coat hanger – free!
- Hot glue
- 3 Fabric fat quarters for flowers – 99 cents (on sale)


DIY Burlap Wreath
I
know this is not the first time you have seen a burlap wreath. In fact
it is probably the 100th time it has been done. But, I do want to show
you this simple wreath because it was very easy and inexpensive.
Materials:
2 1/2 to 3 yards of burlap $6
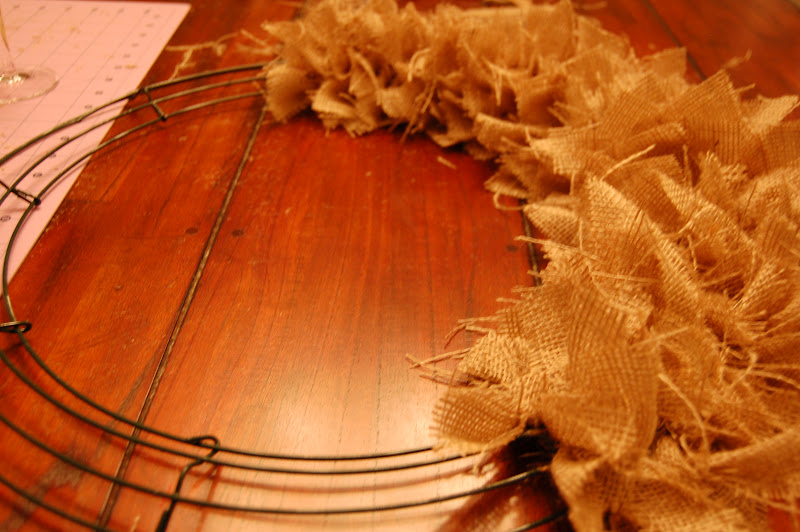
1 large green wire floral wreath (I bought mine at Michaels) $2.99
rotary cutter or scissors
self healing cutting mat (only if you use a rotary cutter)
Step 1: Cut the burlap into strips. My strips were 1"X6"

Step 2: Tie each strip onto the green wire wreath in a single knot

Step 3: Continue to tie burlap strips onto the wreath while drinking wine and watching 30 Rock

Step 4: Spray the finished wreath with starch or hairspray so all of the loose ends don't fall off
Step 5: Hang and Enjoy


The entire project took about 1 hour and 15 minutes to cut and tie

No comments:
Post a Comment